This month's challenge on the Scor-Pal blog is Treat Holders. Halloween is at the end of the month, so that's where I went with my project. I found a tutorial on Splitcoaststampers for an acetate box. Here is the link - Acetate Box. I found some fun jack-o-lantern paper and used a new die from CottageCutz called Happy Toad Wizard. Of course, I had to fill it up with candy that I like! Hershey's Kisses with Almonds - yum!!!
Here's a close-up of the box.
Check out the Scor-Pal blog for some other treat holders you might like to try. And, in case you'd like to try some other boxes, the Scor-Pal website has lots of tutorials.
Sunday, October 1, 2017
Thursday, September 28, 2017
CCEE1739 Johnny Appleseed
For Kelly's last challenge to the CCEE Stampers, she asked us to honor Johnny Appleseed this week with an apple-related card this week. My sentiment is computer-generated.
Stop over at the CCEE Stampers blog and see how the rest of the team honored Johnny Appleseed.
Saturday, September 23, 2017
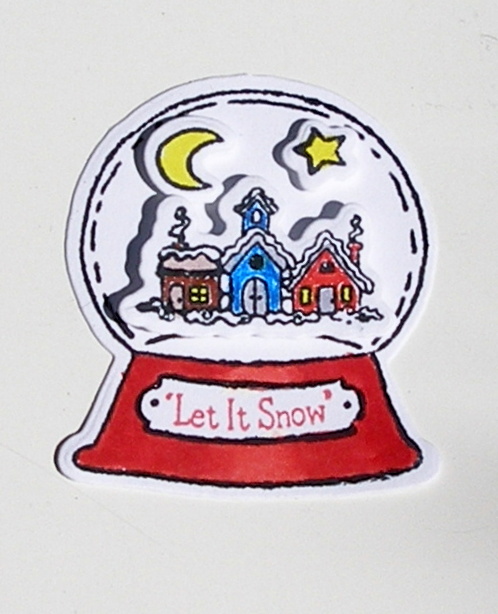
Snowglobe Village
CottageCutz has a whole line of new Christmas dies which will soon be available. They hope to have them available for purchase by September 25th. The card I have today was made with one of the new stamp/die sets -- Snowglobe Fun.
I then colored the images using Copic markers . . .
. . . die cut the images and constructed my snowglobe.
I used a really old Sketch Challenge from Splitcoaststampers for my layout -- SC50. I find that I like to go back through the old sketch challenges for a place to start.
To start my card, I stamped the images onto white cardstock. The set includes two different sentiments which can be placed on the plaque on the front of the snowglobe. I chose "Let It Snow."
. . . die cut the images and constructed my snowglobe.
Then I started my card by cutting out my cardstock panels.
Heavyweight white - 8 1/2" x 5 1/2", scored in half at 4 1/4"
Red - 4" x 1 1/4", 2 1/4" x 3 1/2"
Green patterned paper - 4" x 5 1/4"
Snowflake patterned paper - 2 1/8" x 3 3/8"
After adhering all the layers onto my card, stamping the sentiment, and adding the snowglobe, I decided the card needed something else. So I stamped three snowflakes with gray ink and cut them out with the matching dies, scattering them on the right side of the card.
The CottageCutz stamp/die set I used on this card is Snowglobe Fun. As you can see, there are several different elements that you can use inside the snowglobe.
Thursday, September 21, 2017
Kindred Stamps Blog Hop - Party Like It's 1922
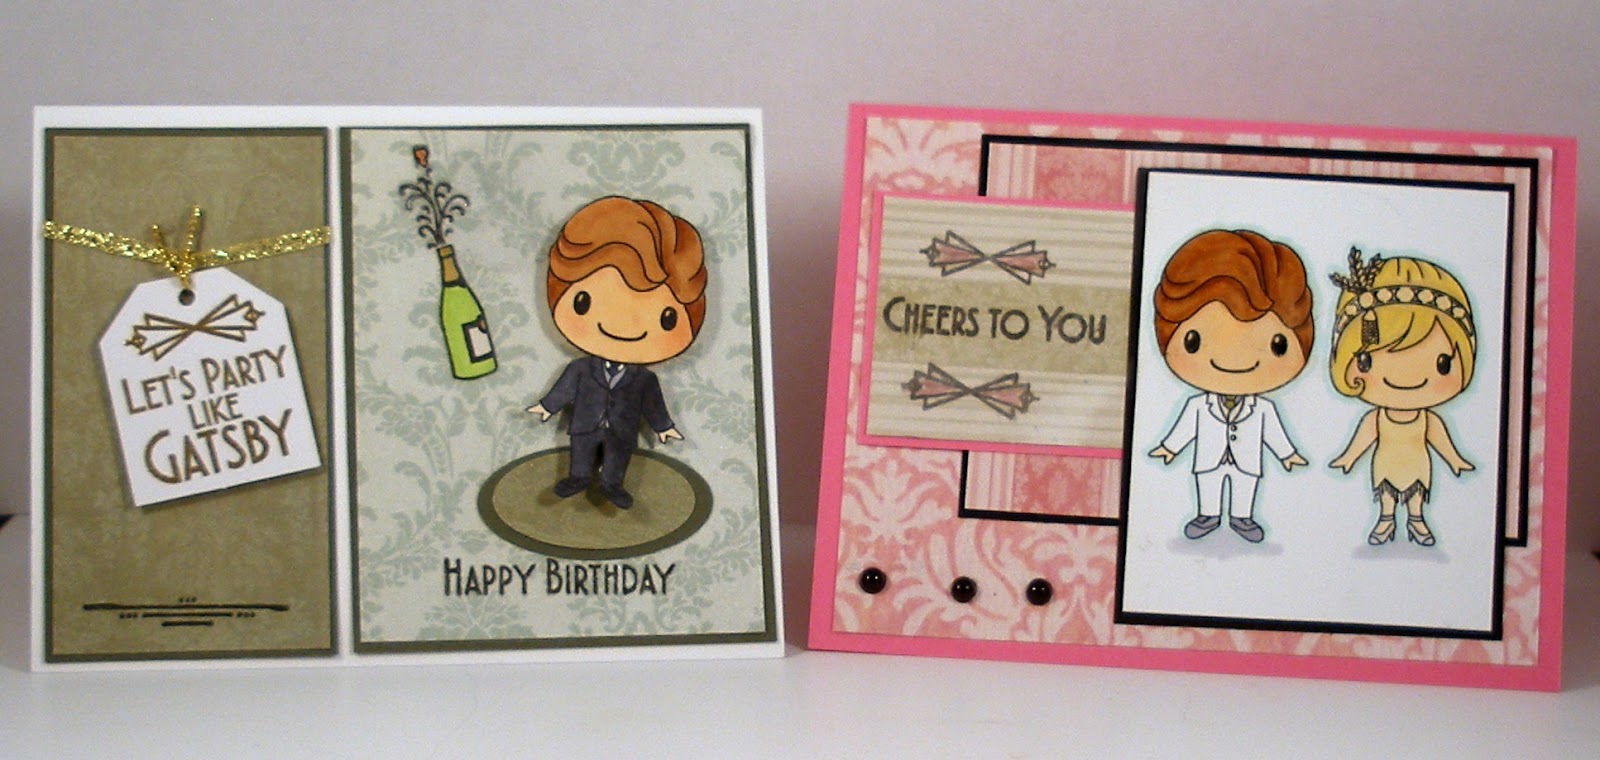
I'm excited to be a guest designer for a stamp company I discovered just a few months ago -- Kindred Stamps, which has the cutest character-driven stamp sets. I'm showing off several cards I have made using Party Like It's 1922, one of the sets being released tomorrow.
As a lover of various fun-fold techniques, my first card is a pop-up box card. I pulled out some quite old glitter paper to give this card lots of sparkle, worthy of a Roarin' 20s party! Even the balloons were cut from glitter paper.
In addition to these two cards, I created two less involved cards using this delightful set. I actually utilized two layouts from Splitcoaststampers Sketch challenges for these cards, SC57 and SC209. BTW, Sketch challenge layouts are a great place to start when designing cards!
Be sure to check out the rest of this release by visiting all of the blogs which are part of today's hop.
Kindred Stamps will be giving away one of the stamp sets from this release. To be eligible, you must comment on each blog post, and the winner will be announced Friday evening. So be sure to visit and comment on each one of the blogs!
As a lover of various fun-fold techniques, my first card is a pop-up box card. I pulled out some quite old glitter paper to give this card lots of sparkle, worthy of a Roarin' 20s party! Even the balloons were cut from glitter paper.
If you've never made a pop-up box card, I have a tutorial in another post here.
Another card I made using this set uses a Spellbinders window die as an important part of the design. Jay is enticing Daisy to come out and join him in a glass of champagne.
The Frolicking Fairy -Marcia Caradinta
Clownmom Creations - Lois Bak (You are here!)
Kindred Stamps will be giving away one of the stamp sets from this release. To be eligible, you must comment on each blog post, and the winner will be announced Friday evening. So be sure to visit and comment on each one of the blogs!
Labels:
Blog Hop,
Kindred Stamps,
Pop-Up card,
Sketch Challenge
CCEE1738 Pirates
Tuesday was "Talk like a Pirate Day," and Kelly asked the CCEE Stampers to create a card using anything pirate related. We could earn some extra treasure/booty if we included a map on our card. I pulled out an old set that I always thought was cute -- Changito the Pirate. And I even found some map paper!
Check out the CCEE Stampers blog for some more pirate fun!
Monday, September 18, 2017
Nativity Bridge Card
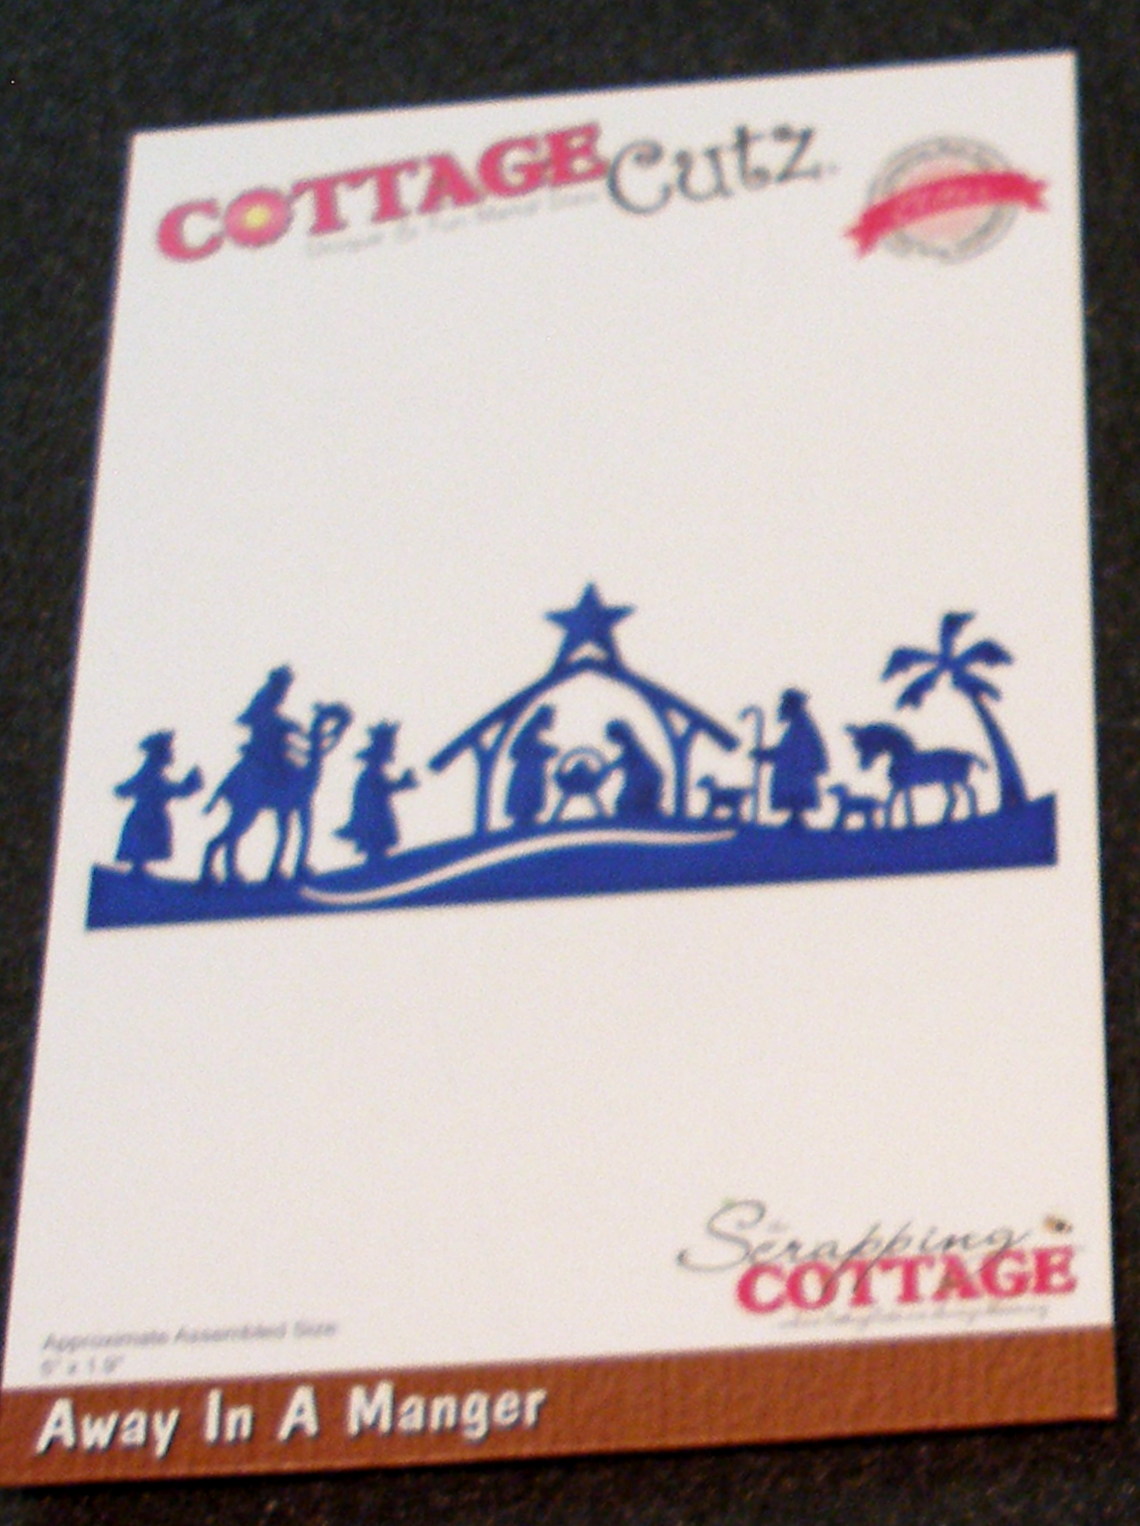
It's always fun to learn a new technique. My card today actually has two techniques that I just learned -- a fun-fold and a background. CottageCutz has a whole bunch of new Christmas dies, which will be available on their website on September 20th. I used two of them on my card -- Away in a Manger and We Wish You a Merry Christmas.
The background technique I recently learned is called Galaxy Background, which looks like it would be much more difficult than it actually is. To create the background you sponge various colors of Distress ink onto white cardstock. The colors I used, in order, are: 1) Mermaid Lagoon; 2) Peacock Feathers; 3) Chipped Sapphire; 4) Seedless Preserves; and 5) Black Soot. During the process you'll wonder how this process can possibly look good; but, be patient, it comes together at the end. As you can see, each of the colors is sponged sparingly so as not to overtake the previous layer. When you get to the Black Soot, however, you lightly cover the entire card. After sponging is completed, put a little bit of white acrylic paint on an acrylic block and dilute it slightly with water, mixing it together with a small paint brush. Then flick the paint brush against the side of your finger to splash the paint onto the entire area. Here is a photo of the six steps involved. You can see how the colors build upon each other.
Now you can start your card. Cut a piece of heavy weight white cardstock 4 1/4" x 8" and score at 1 1/4", 2 1/2", 5 1/2", and 6 3/4".
Fold the card base as shown in the photo -- very similar to a double gate-fold card.
Glue the sentiment onto the center section of the card, with the star extending just slightly off the top. When adhering the Nativity border, just apply glue to the ends of the die cut. Lay the card flat, with just the left side folded on the score lines. Adhere the left side first, and then span the center and adhere the right side.
As you can see, the card will lie flat for mailing; but, when you fold both sides up, it will stand with the Nativity border "bridging" between the two end panels. You can see in the following photos the 3-D look of this card.
Now you can start your card. Cut a piece of heavy weight white cardstock 4 1/4" x 8" and score at 1 1/4", 2 1/2", 5 1/2", and 6 3/4".
My background piece was originally a white piece of cardstock 4" x 6 3/4". Cut the sky pieces as follows: a 1" strip, a second 1" strip, a 2 3/4" strip, and another 1" strip, leaving one final 1" strip.
Adhere the sky pieces to each section of the card base.
Cut the sentiment and Nativity border. I used glitter paper for each element -- pale blue for the sentiment and silver for the border.
Here again is the card from the front.
I hope you give these fun techniques a try. I'm really hooked on that Galaxy Background!
CottageCutz dies used on my card are:
Labels:
Bridge card,
Christmas,
CottageCutz,
Galaxy background
Thursday, September 14, 2017
CCEE1737 Roald Dahl Day
Kelly continues this week as hostess for the CCEE Stampers and asks us to help celebrate Roald Dahl Day by making a card inspired one of his many children's books. I chose Fantastic Mr. Fox.
Check out the CCEE Stampers blog to see what the rest of the team is reading!
Subscribe to:
Posts (Atom)