Showing posts with label Pop-Up card. Show all posts

Thursday, May 10, 2018

Some Fun Cards

I recently attended the Stamp and Scrapbook Expo in Orlando.  It is so fun to see all the new products that vendors have to show us.  Of course, I made many purchases, and I've been playing with lots of my new toys.  Here are a few cards I've made with some of them.

I always love to visit the Heartfelt Creations booth.  Their new Butterfly Dreams collection is so pretty.  I fell in love with the border stamp and die from that collection.


I purchased quite a bit from the It's Cheaper Than Therapy booth.  I used two of my purchases on this card -- the Sleigh Pop-Up die set and Winter Animals die set from Karen Burniston.


I also visited the Rubbernecker booth, where my friend Kittie was demonstrating her talents.  I purchased a couple of cute fish-related stamp sets, which I combined with a set from Gerda Steiner, which I already had.  I made a pop-up box card with a little twist . . .


. . . the front panel is cut out and acetate added so you can see the inside.


I hope to have some more fun real soon with the rest of my purchases.


Thursday, February 8, 2018

CCEE1806 - Valentine's Day

Kelly continues as hostess for the CCEE Stampers and this week she reminded us that Valentine's Day is next Wednesday.  So she asked us to create a card showing something that WE love.  I LOVE using dies when I'm creating.  And one of my favorite dies is this Tag Book Pop-Up die that Frances introduced me to last year.  


I must warn you though -- it is very addicting.  Once you make one of these fun cards, you're hooked!  I think I made three of them in one week when I first got it!

Be sure to check out the CCEE Stampers blog to see what the rest of the team loves.

Thursday, September 21, 2017

Kindred Stamps Blog Hop - Party Like It's 1922

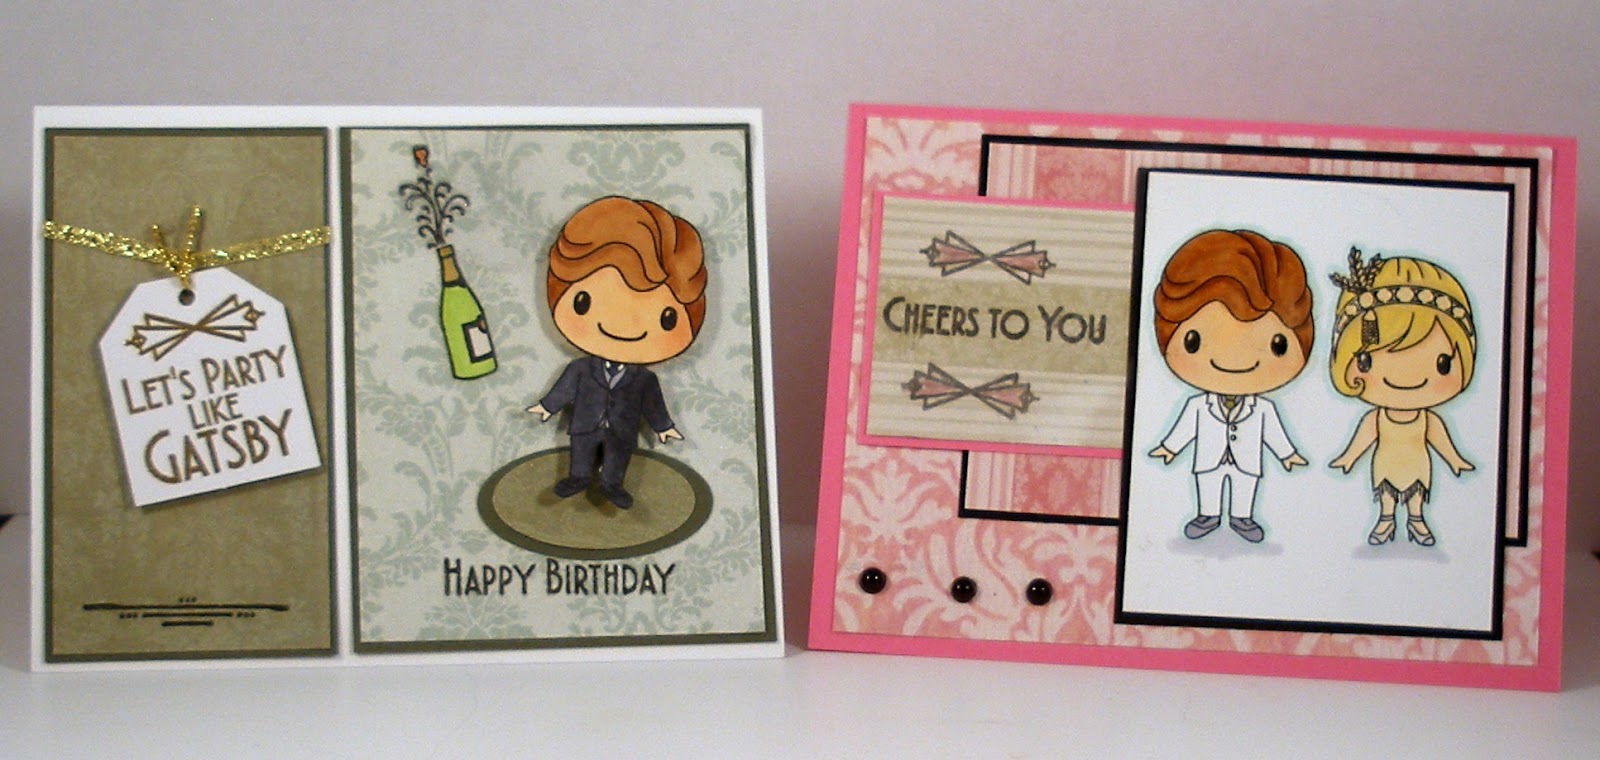
I'm excited to be a guest designer for a stamp company I discovered just a few months ago -- Kindred Stamps, which has the cutest character-driven stamp sets.  I'm showing off several cards I have made using Party Like It's 1922, one of the sets being released tomorrow.


As a lover of various fun-fold techniques, my first card is a pop-up box card.  I pulled out some quite old glitter paper to give this card lots of sparkle, worthy of a Roarin' 20s party!  Even the balloons were cut from glitter paper.


If you've never made a pop-up box card, I have a tutorial in another post here.

Another card I made using this set uses a Spellbinders window die as an important part of the design.  Jay is enticing Daisy to come out and join him in a glass of champagne.


In addition to these two cards, I created two less involved cards using this delightful set.  I actually utilized two layouts from Splitcoaststampers Sketch challenges for these cards, SC57 and SC209.  BTW, Sketch challenge layouts are a great place to start when designing cards!


Be sure to check out the rest of this release by visiting all of the blogs which are part of today's hop.

Kindred Stamps
R Winn Creates - Rachel Winn
Fanciful Spaces - Hannah Rubenstahl
The Frolicking Fairy -Marcia Caradinta
Clownmom Creations - Lois Bak  (You are here!)

Kindred Stamps will be giving away one of the stamp sets from this release.  To be eligible, you must comment on each blog post, and the winner will be announced Friday evening.  So be sure to visit and comment on each one of the blogs!

Monday, September 11, 2017

Pop-Up Pumpkin . . . and Toad

Halloween is right around the corner.  I've got another card made with a new CottageCutz Halloween die.  This was a fun card to make.  When you look at the front, it's not very exciting . . .


. . . all the fun is on the inside.


To start my base card, I cut cardstock as follows:

Orange - 8 1/2" x 5 1/2"
Black - (1) 4" x 5 1/4", (1) 5 1/4" x 8 1/4", cut in half
Patterned Paper - (1) 3 7/8" x 5 1/8", (1) 5 1/8" x 8 1/8", folded in half


After folding the orange base in half, I glued down the black mat piece and the smaller patterned paper piece on the front.

I cut all the die cuts from white, orange, black, or green cardstock . . . 


. . . and colored them with either ink or markers.  Then I constructed the frog/pumpkin piece.  Note that the small stars and curly-cue are glued to a small piece of acetate, which was then glued to the large star on the wand with a glue dot.


On the front I stamped the sentiment and the cat in Versafine Black Onyx ink and embossed them with clear embossing powder . . .


. . . and added the scarecrow and strip of grass.


Now came the fun part!  To make my pop-up support on the inside, I cut two 2" slits 1" apart on the patterned paper across the scored center and scored at each end of the strips.


I glued the two pieces of black cardstock to the inside of the card, getting them close to the fold line, but not touching.  This allows the card to close without bending up the edges.  I didn't want to adhere one large piece of black cardstock to the inside because that would tend to "bind" when the card was closed.  Then I added the patterned paper, being careful not to apply glue to the support section in the center.  This section will fold OUT when the card is closed -- with the pumpkin/frog glued to the front of it.


Because the paper is very "busy," I wanted to tone it down a bit by putting a panel on each side of the card.  I cut two pieces of black cardstock, one piece of white, and one piece of "sky" paper.  (These could be any size you wanted.)


I stamped the sentiment on the white piece and sponged a bit of green ink around the edges.


I then cut out the sun and cloud, sponged on some darker color to the sun, and (using a Copic gray marker) added some shading to the under side of the cloud.


I put the pieces together and adhered them to the upper and lower panels of the card.


This photo shows how the frog sits on the pop-up support piece.


CottageCutz dies used on this card are:

http://www.scrappingcottage.com/cottagecutzharvestscarecrowelites.aspx


http://www.scrappingcottage.com/cottagecutzsunandcloud.aspx


The new Halloween die (Happy Toad Wizard), as well as several new series of Christmas dies, will be available for purchase in the CottageCutz store starting September 20th.  Because of the support of their wonderful customers, it has become necessary to move into a larger warehouse.  Because of the move, the store is temporarily on hold.  But that gives you lots of time to decide what you want next!  LOL!


Monday, April 24, 2017

Baby Boy Pop Up Box Card

CottageCutz recently released a whole batch of baby dies, which are really cute.   Last week my card on the CottageCutz blog was for a baby girl.  Today's card is for a baby boy.  Pop-Up Box cards are so much fun to create.


Supplies used on my card are:

White cardstock cut 12" x 8 1/2"
Blue cardstock cut as follows:
     3 panels cut2 1/2" x 3 1/2"
     6 panels cut 2 1/2" x 2 1/2"
     2 panels cut 2 1/2" x 6 1/4"
Patterned paper panels cut 1/8" smaller than blue panels
White cardstock panel cut 1/8" smaller than the long blue panel
White, blue, tan cardstock for die-cuts
Acetate
Copic markers
Scor-Tape
CottageCutz dies - Bathtub Time, Baby Boy Tag Topper, Baby Blocks mini, Bear on Cloud and Moon

To make the card, score the 12" x 8 1/2" piece of white cardstock on the long side at 2 3/4", 5 1/2", 8 1/4", and 11". 


Then cut off a 2" x 12" strip and set aside to use later.

Rotate the white cardstock a quarter turn and score at 2 3/4".


Cut down 2 3/4" to the score line along each of the perpendicular score lines.  At the 11" score line, continue to cut at an angle to create a tab, as shown in the photo.


Cut the 2" x 12" strip at 4 3/4" from the end with the 1" score line, and then cut in half to create two 1" x 4 3/4" strips.  Ad some Scor-Tape to the ends, as shown.


Cut the blue and white cardstock and patterned paper pieces, as shown.


Adhere to the white card base.

  Outside of box

   Inside of box

Add Scor-Tape to the small tab, fold the card together and adhere the tab.


Adhere the two small strips of cardstock to the inside of the box, with the tabs facing toward the outside.


Cut the die-cuts using all four dies, using white, blue, and tan cardstock.


Color the die-cut pieces and assemble. 


You can see that I assembled the tub scene on a piece of acetate.  I did this so that I could show the water droplets and bubbles.


Add all the assembled pieces to various parts of the box, using acetate strips to elevate the blocks.


If you've never made a pop-up box card, I would encourage you to give it a try.  It was great fun!

CottageCutz dies used on my card are:


http://www.scrappingcottage.com/cottagecutzbathtubtime.aspx


http://www.scrappingcottage.com/cottagecutzbabyboytagtopper.aspx


http://www.scrappingcottage.com/cottagecutzbabyblocksmini.aspx

http://www.scrappingcottage.com/cottagecutzbearoncloudandmoon.aspx

Thursday, December 1, 2016

Scor-Pal and CottageCutz - Pop-Up Box Card

The Scor-Pal "More Than One Score" challenge for December is "anything goes."  I decided on a cute little pop-up box card that you could give someone "just because."    Just because you like them and want to brighten their day.


I've got a tutorial here on my blog showing how to make a similar box.  Check it out here.

The dies used for the contents of my box are: