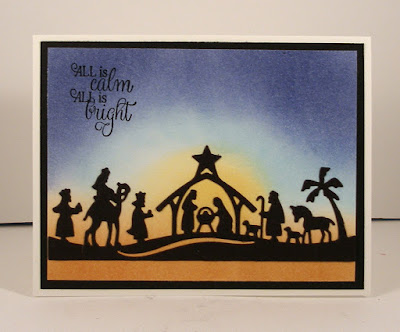
Christmas time is very hectic, and people can get overwhelmed with all the preparations -- shopping, wrapping, food preparation, etc., etc., etc. My card today is one you could send to a friend who needs a little smile to help with all the madness of the season. There's plenty of room on the inside of this center-step card to write some encouraging words.
I started my card by constructing the card base, cutting the papers as follows:
White - 5 1/2" x 11"
Black - (2) pieces 3/4" x 4 1/4", (1) piece 3 1/4" x 4 3/8"
Patterned paper - (2) pieces 5/8" x 4 1/8"
I cut a slit at the 1" mark on either side of the card from the 1" mark to the 6 1/2" mark. Scored from the side of the card in to the slit line at the 1" mark, the 2" mark, and the 6 1/2" mark. Scored between the slits at the 5 1/2" mark. To see more detailed instructions for this type of card, see the tutorial on Splitcoaststampers
here.
I layered the patterned paper strips onto the black strips and applied to each side, and then adhered the larger black panel to the center section.
Next I cut the die pieces from white, black and green scraps. Notice that the Spring Grass die was not fully cut out. By placing the cutting plate above the lower cut line on the die I was able to enlarge the grass section, rather than cutting it out totally.
Using the packaging as a guide, I then colored and constructed that cute dachshund.
I cut another piece of white cardstock 3 1/8" x 4 1/4". The background sky was created by sponging Ranger Tumbled Glass ink against a cloud stencil. I went all the way to the bottom because I would be covering the lower section of the panel with the die-cut grass and wanted to make sure the sky was colored low enough on the background.
I then stamped the sentiment at the top and added the die-cut pieces to the panel, popping up the dog with foam pop-dots and adding the pet border across the bottom.
I hope the holidays haven't worn you down; but, if they have, perhaps this card will lift your spirits.
CottageCutz dies used on my card are:


