


To start my project, I scored a piece of 12" x 12" cardstock at 4" and 8" on both sides . . .

. . . and a piece of 10 1/2" x 10 1/2" cardstock at 3 1/2" and 7" on both sides.


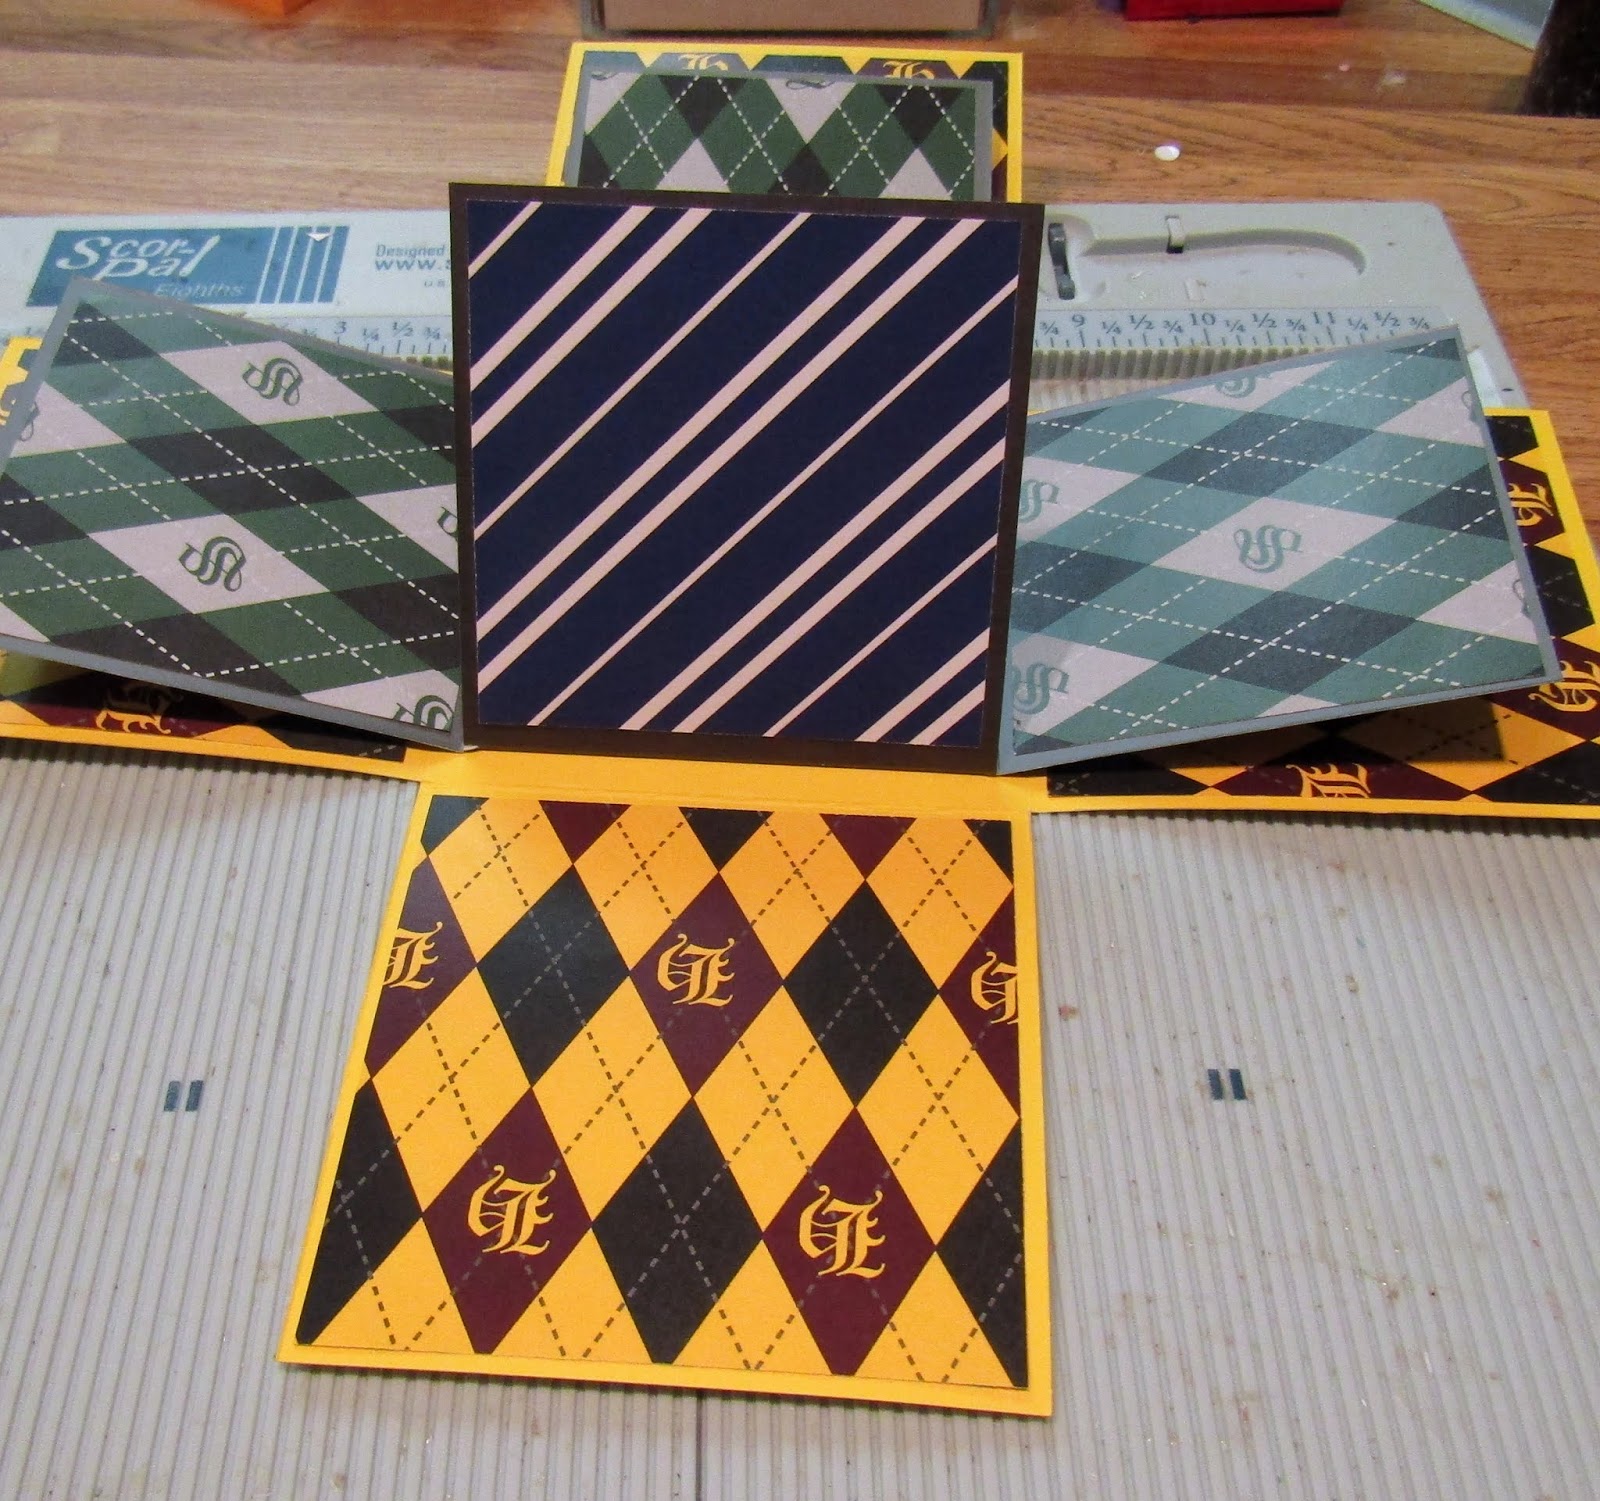
I chose some wizard-related patterned paper and cut eight pieces 3 3/4" square and eight pieces 3 1/4" square. As you can see, the patterns represent all four houses at the magic school.

Scor-tape is attached to the bottom of the center square of the smaller panel, the pieces are glued together, and the patterned paper applied appropriately.


The next step was to make the lids for the two layers. The larger lid is made from a piece of matching yellow cardstock 6 5/8" square. The smaller lid is made from a piece of matching dark gray cardstock 6 1/8" square. I then scored each piece 1 1/4" in from all four sides.


I then stamped and colored the images (4 teachers and 4 students). I cut them out with a Spellbinders Labels One die with a slightly larger Labels One die for the matting.

Following the video instructions for the Karen Burniston Castle Pop-up, which you can find on her website here, adding the additional trimwork.


As you can see from the photos, the teachers are glued to the first layer of explosion. . .


I hope you enjoyed my tutorial and will try to make an Explosion Box yourself. It was a really fun project.
4 comments:
I just love your projects; goodness, you must be making cards all day long!
TYVM for sharing your talent with us—you are such an inspiration.
Love this!!!
Such an adorable explosion box with adorable characters and 3D castle!!
Thank you for the directions. I have always wanted to try one of these
Post a Comment