Showing posts with label Explosion Box. Show all posts

Tuesday, July 7, 2026

Karen Burniston Designer Challenge -- Box or Blocks

This month's Karen Burniston Designer Challenge had an interesting theme -- "box or blocks."  As Karen wrote in her challenge to us: "Is this a cardboard box? Baby blocks? A toolbox? A toy box? Minecraft? You decide!" I hadn't made an Explosion Box in quite a while, so that's the direction I went. A few weeks ago my daughter asked me to make a wedding card for her, so I decided I would combine the two ideas and came up with a Wedding Explosion Box. I decorated the outside of the box with dies from the Wedding Charms (the "Best Wishes") and the Cake Trims (the hearts).


Remove the lid and the sides fall down, leaving another box within.


Karen recently brought back the Gift Card Label, and I thought that would be a nice addition -- giving a convenient place for a gift card. When you remove the gift card, there is a nice little sentiment remaining in place.


Removing the second lid reveals a wedding cake with the bride and groom atop it.


Sitting atop the wedding cake are the bride and groom.


I usually put a lid on each section of the box, but the height of the bride and groom did not allow that.

I hope my daughter's friend enjoys this little gift.

Friday, October 25, 2024

Karen Burniston New Release - Day 5

Included in the Karen Burniston new release are three add-on sets, one of which is the Christmas Tree Add-on.  It has new pieces for the tree itself plus ornaments and a tree skirt.


One of the samples I had made for the previous release was an explosion box for the Pirate Ship.  I enjoyed making it so much that I decided to make one for this release as well.


When you remove the lid, it reveals the Christmas tree inside.  One of the panels includes a Mini Gift Bag, in which can be placed a gift card.  On the opposite panel is one of the sentiments from the new stamp set, Season of Cheer.


Here's a short video.


Thanks for stopping by today.  Don't forget about the new release blog hop on Monday.  You could win a $25 gift certificate to Karen Burniston's website.

Monday, June 24, 2024

Karen Burniston New Release Sneak Peek - Day 1

Karen Burnison new release time is always exciting, and this week is no exception.  We've got 12 new dies to preview this week, all of them so much fun.  I'm going to start my sneak peeks with a bang!  Have you ever made an explosion box?  That's what I have for you today.  The new dies I'm using are the Boat Pop-up along with the Pirate Ship Add-ons and Pirate Borders.

I covered my box with some nautical looking blue paper, adding a couple of the Pirate Borders to the box and the lid.


When you remove the lid, out pops the pirate ship.  The dies included in this set are so appropriate to a pirate ship -- skull & crossbones, flags, swords.


Did you see that sentiment on the back panel?  Well, surprise, surprise -- Karen Burniston has added stamps to her repertoire, which coordinate with the theme of the die sets.  There are actually five stamp sets in this release.  How fun is that? 

Here's a short video showing how the action happens.


Thanks for stopping by my blog today.  Be sure to check back again during the week because I'll have a sneak peek every day.  And next Monday we'll have our new release blog hop where you get the chance to win a $25 gift certificate to the Karen Burniston website.


Saturday, April 25, 2020

Scor-Pal Pinspired Project - Exploding Box

I've got a project on my blog today that was inspired by another project from the Scor-Pal Pinterest Board -- an Exploding Box from 2006.

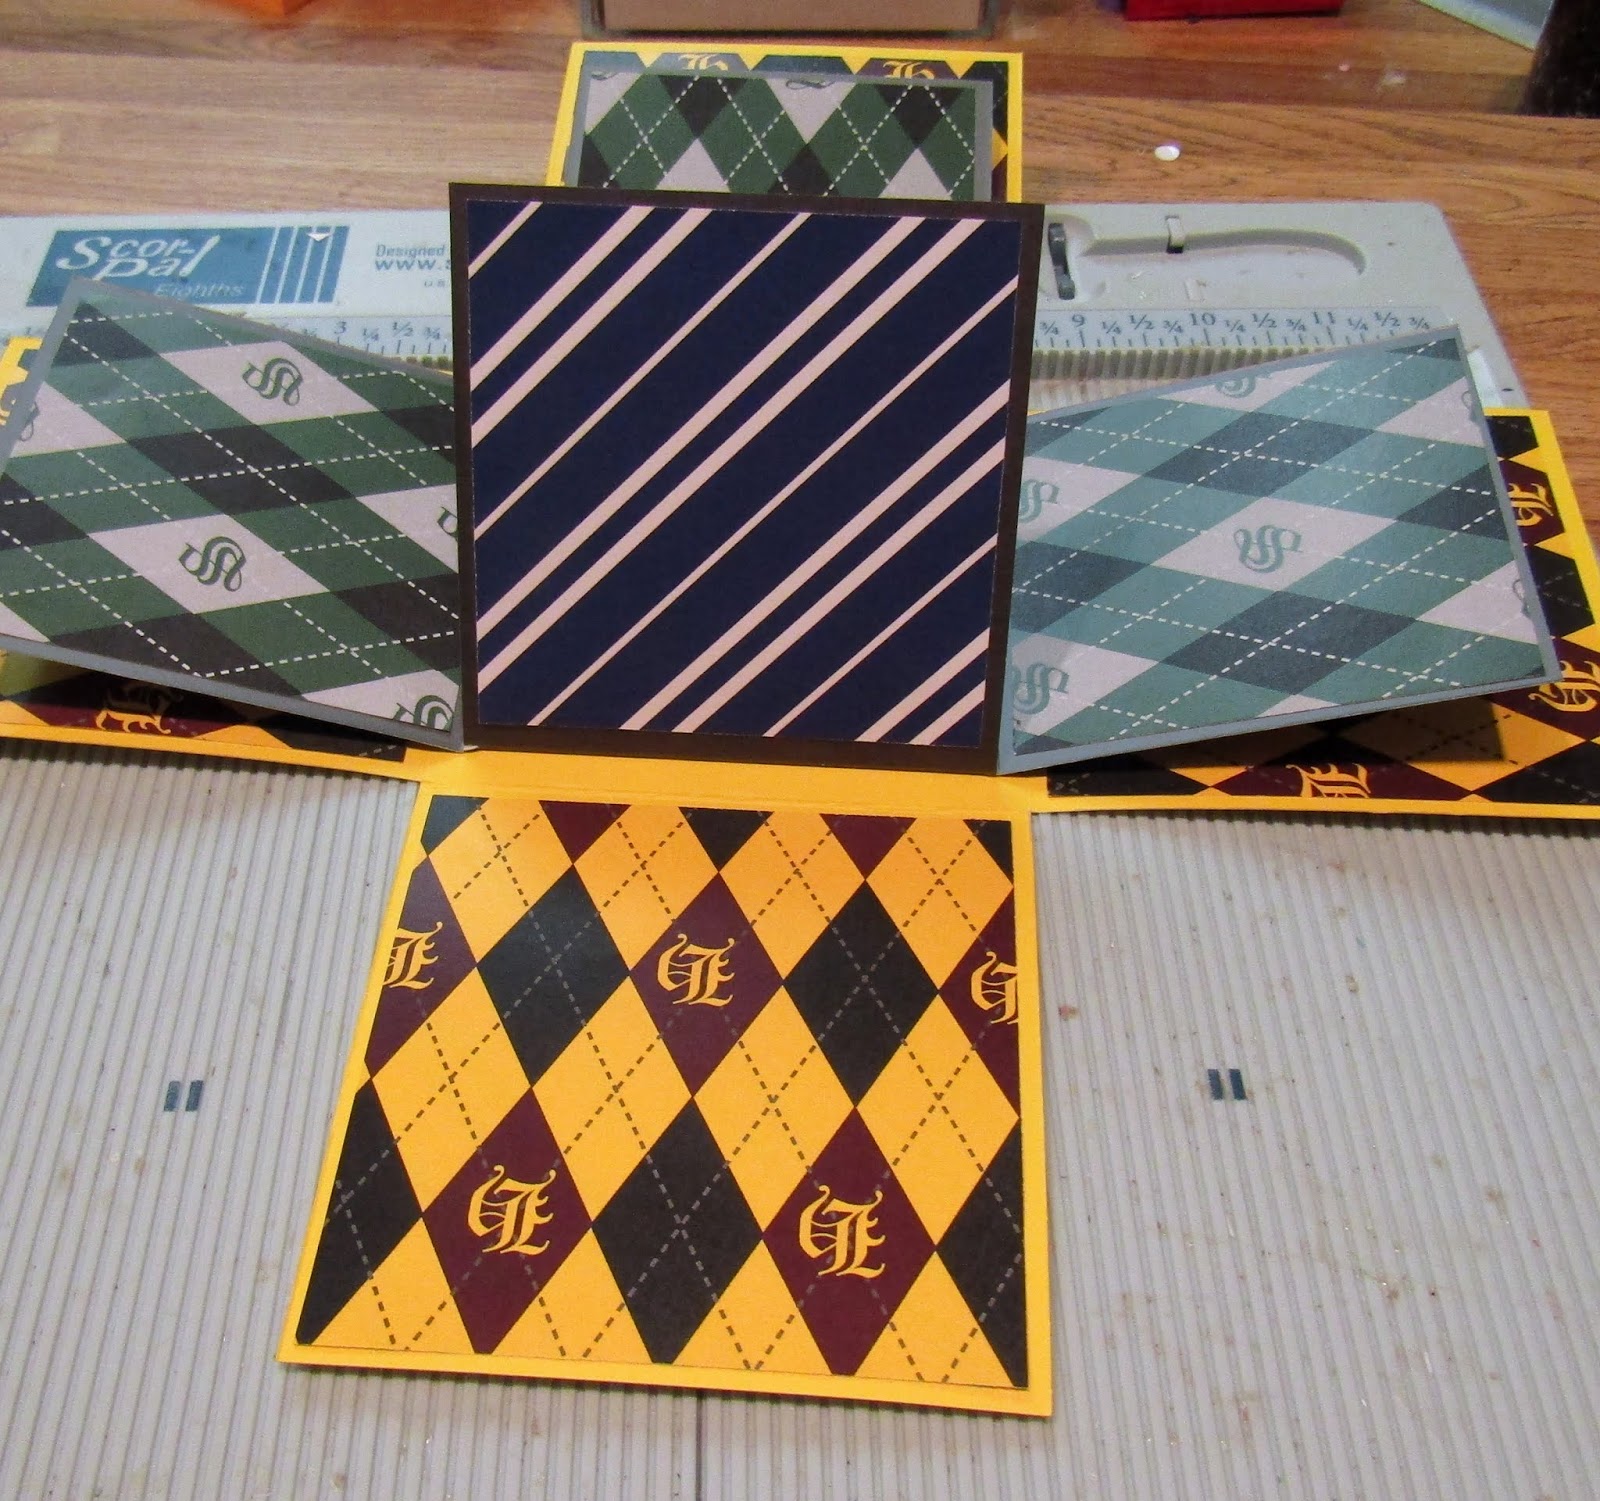
When I started my box, I decided that my theme would be a favorite of mine -- a certain boy wizard and his friends.  My box differs from the original in that there are only two layers of explosion rather than three, and also there is a 3-D object on the inside.


To start my project, I scored a piece of 12" x 12" cardstock at 4" and 8" on both sides . . .


. . . and a piece of 10 1/2" x 10 1/2" cardstock at 3 1/2" and 7" on both sides.


I then cut the four corners out of each piece.


I chose some wizard-related patterned paper and cut eight pieces 3 3/4" square and eight pieces 3 1/4" square.  As you can see, the patterns represent all four houses at the magic school.


Scor-tape is attached to the bottom of the center square of the smaller panel, the pieces are glued together, and the patterned paper applied appropriately.


The next step was to make the lids for the two layers.  The larger lid is made from a piece of matching yellow cardstock 6 5/8" square.  The smaller lid is made from a piece of matching dark gray cardstock 6 1/8" square.  I then scored each piece 1 1/4" in from all four sides.


After cutting tabs on all four corners, I added some Scor-tape.


This was done to both the yellow lid and the dark gray lid.

I then stamped and colored the images (4 teachers and 4 students).  I cut them out with a Spellbinders Labels One die with a slightly larger Labels One die for the matting.


Following the video instructions for the Karen Burniston Castle Pop-up, which you can find on her website here, adding the additional trimwork.


After the castle was completed, I attached it to a 3 3/4" square of patterned paper, using the tabs created with one of the dies in the Castle Pop-Up die set.  I then cut a hexagonal piece of the same patterned paper, inserted the free-standing turret, and glue it inside the castle.


As you can see from the photos, the teachers are glued to the first layer of explosion. . .


. . . and the students are glued to the inside layer.


I hope you enjoyed my tutorial and will try to make an Explosion Box yourself.  It was a really fun project.