As I wasn't sure which of the images from the Bear Patient die I was eventually going to use, I cut all the pieces out of white cardstock so that I could color them. I knew I was only going to use one sentiment from the Ouch with Tooth die, so I just cut it out of red cardstock.
Using various Copic markers and a couple of Wink of Stella brushes, I colored the bear pieces and constructed the various images.
I then cut the cardstock for the base of my card -- a 4 1/4" x 5 1/2" piece of dark brown and a 9 3/4" x 4" piece of kraft.
I scored the long piece at 5 1/4". With the short edge of this piece at the top of my paper cutter and the long edge at the 1" mark, I cut a slit from the 3" mark to the 7 1/2" mark. IMPORTANT: If you decide to make a similar card, be sure that the larger section of the cardstock strip is at the top before you cut the slit. (Ask me what happens when you don't place it in your paper cutter the correct way!)
I placed the strip on my Scor-Pal with the long edge across the top and the larger section toward the left. I then scored at the 3" mark down to the slit. At the end of the slit (at the 7 1/2" mark), I scored down to the edge. (I slightly folded on the score lines so that you can see them.)
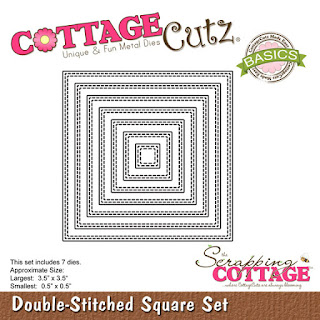
Now it was time to cut the background panels of the card. I wanted to use the Double-Stitched Squares and Rectangles on my card, but the rectangles weren't quite the right size. So I just cut the front panel with the die and the rest of the panels as listed:
Cream cardstock - 2 1/2" Double-Stitched Square, 4" x 2 1/2" rectangle
Dark brown cardstock - 2 3/4" square, 4 1/4" x 2 3/4" rectangle, 3/4" x 5" strip, and (2) 3/4" x 2" strips
Patterned paper - 1/2" x 4 3/4" strip and (2) 1/2" x 1 3/4" strips
I layered the panels and adhered them to the front of the card.
I then glued the die cuts to the front and inside panels . . .
And my card was complete.
CottageCutz dies used on my card are:


1 comment:
Your card is ABSOLUTELY GORGEOUS!
Post a Comment