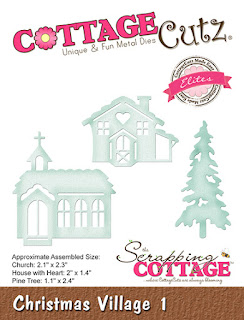
My card today was made with Christmas Village 1 from the new Christmas release from CottageCutz. There is also a Christmas Village 2, which has two additional buildings. It's on my wish list!
To start my card I cut my cardstock and snow-patterned paper, as follows:
White - 5 1/2" x 8 1/2", scored at 4 1/4"; and 4" x 5 1/4"
Patterned paper - 3 3/4" x 5"
After folding the card base, I glued the patterned paper in the center.
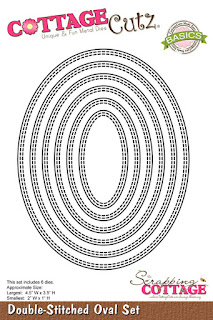
I then cut an oval into the smaller white panel and cut the oval in half. These half-ovals will form the snowdrifts on my card.
I wanted the white panel raised up a bit, so I put foam tape strategically onto the back of the panel . . .
. . . and placed the half-ovals behind the opening.
I then adhered the panel to the card base.
I cut the images from a scrap of white cardstock.
I wanted a little splash of color, so I dabbed some Copic markers onto a small scrap, cut it to the size of the church window openings and glued it behind the openings. I then colored the church doors and the heart over the house door with red, placed small strips of Scotch tape behind the openings and inserted the small die-cut pieces.
I applied a bit of BG0000 Copic marker along the edges of the snow drifts to give some dimension . . .
. . . and placed the buildings and the tree within the opening.
At this point, I decided that the scene needed another tree and some glitter, so I added some Stickles along the roof lines of the buildings and cut another tree and slipped it behind the house. My card was now finished!
CottageCutz dies used on this card are:


No comments:
Post a Comment
Thanks for visiting my blog, and your comments are appreciated.