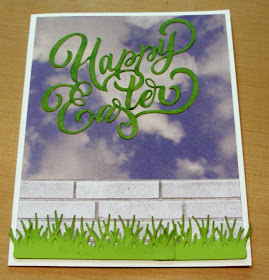
And now for my card:
Before cutting out the dies, I put a sheet of two-sided adhesive on the back of a piece of white cardstock to make adhering the smaller die-cuts easier. To tell the truth, I waver back-and-forth between using the adhesive sheets and not. Either process will work well if you have a fine-tip applicator on your glue for when you don't use the adhesive sheet.
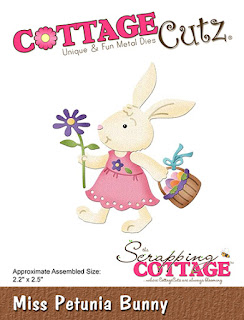
After cutting out the pieces, I colored them and constructed each element. I used a black mini brad for Miss Petunia's eye.
Then I gathered the supplies for my card base:
White cardstock - 8 1/2" x 5 1/2"
Sky patterned paper - 4" x 5 1/4"
Brick patterned paper - 4" x 1 1/2"
Green cardstock to cut the grass from the Spring Meadow die
I then constructed my card base, adding the "Happy Easter" phrase.
After slipping Miss Petunia between the rows of grass, I placed the egg on the wall, and stuck the flowers (from the Happy Easter Phrase die) to the stems within the grass. I tend to work "by the seat of my pants" and realized that the phrase didn't really stand out as much as I had envisioned, so I pulled out my Dark Green Wink of Stella brush and went over the lettering. I was much happier with the result -- it now glitters!
CottageCutz dies used on this card are:


No comments:
Post a Comment
Thanks for visiting my blog, and your comments are appreciated.