Here is how I made that card.
Supplies needed:
Sizzix “Bricked” embossing folder
Spellbinders Petite Oval Nestabilities
Cuttlebug or Big Shot
Cardstock, stamps and ink, as desired
For my tunnel I used MFP, a HC, English Stone cardstock and Memento Tuxedo Black ink. First cut the cardstock using an appropriate-sized Spellbinders Petite Oval Nestabilities die.
Rub ink onto one side of the embossing folder, being careful
to use the “mortar” side, not the “brick” side.
Cut a smaller petite oval using a yellow piece of cardstock
for the “light at the end of the tunnel.”
I usually use Scor-tape to attach pieces of cardstock together when one
of them is embossed.
Attach yellow piece to embossed pieced – slightly off-center
to give some perspective.
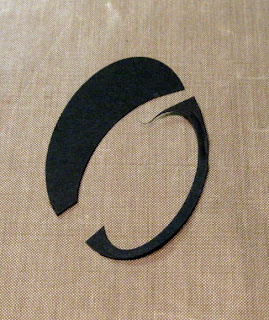
Cut a small black oval, using two Petite Ovals.
Construct your tunnel, cutting off the bottom.
Stamp your background scene.
I used several different MFP sets – Train Talk (for the train and the
sentiment), A Walk in the Woods (for the large trees), and Scenic Selections
(for the small trees and the sprigs of grass).
The sky and ground were sponged using several different Tim Holtz
Distress inks. I stamped, colored and
cut out the train.
Construct your card.
Here again is my card.
Check out some other samples of this technique on Speedy TV. Here's the direct link to them.


Lois,
ReplyDeleteI had a great time making the tunnel, although I'm not so hot at creating scenes - but this was fun. Your card, as always, is wonderful! TFS.
This is awesome! What a great idea and a great tutorial! Smiles :) Janis (your new MFPS DT sister)
ReplyDeletefab tutorial Lois...good job and fabulous card
ReplyDeleteThis is one fabulous tutorial, Lois!!! Very, very creative!
ReplyDeleteGreat Tutorial Lois. You are so creative.
ReplyDelete